If there’s one thing my daughter has always loved, it’s crackers. But cheese? Not a chance. For the longest time, she wouldn’t go near it — no matter how I tried to sneak it in. That’s when I realized Goldfish crackers were the perfect bridge: she adored them, and they just so happened to be made with cheese.
That little discovery inspired me to try making them at home. I wanted a version with real, simple ingredients and hoped that by baking them together, she might warm up to the idea of cheese in a new way. Spoiler: it worked! These healthy homemade goldfish crackers quickly became a favorite, and they’ve helped introduce her to a food she used to avoid completely.
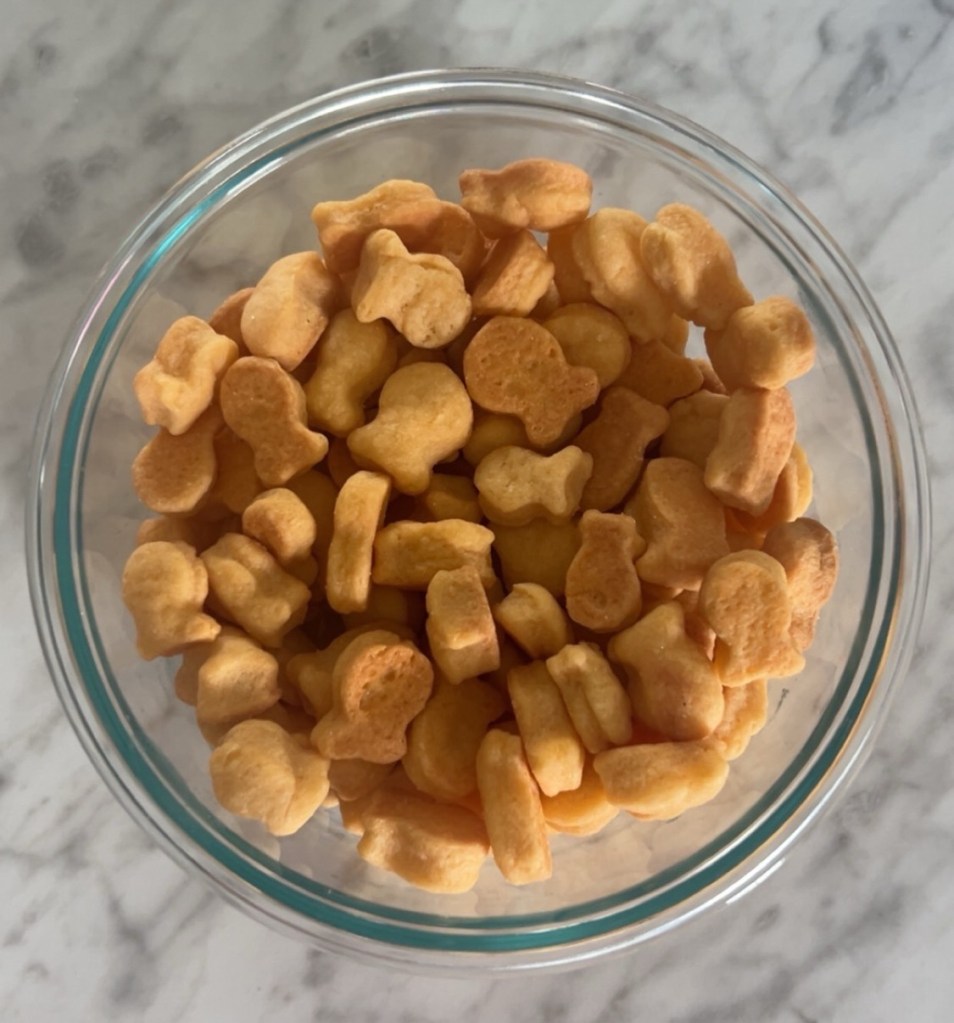
Made with sharp cheddar, cold butter, and just a few pantry staples, these crackers are cheesy, crispy, and perfectly snackable. Hand-grating a good quality cheese really brings out the flavor, and cutting them into fun shapes makes it a kid-friendly kitchen activity too.
If you’ve got a picky eater at home (or just want a better version of a classic snack), this recipe is a great place to start.
Snack time just got an upgrade 🧀🐟
These golden, cheesy little crackers are made with real ingredients — and lots of love. 💛
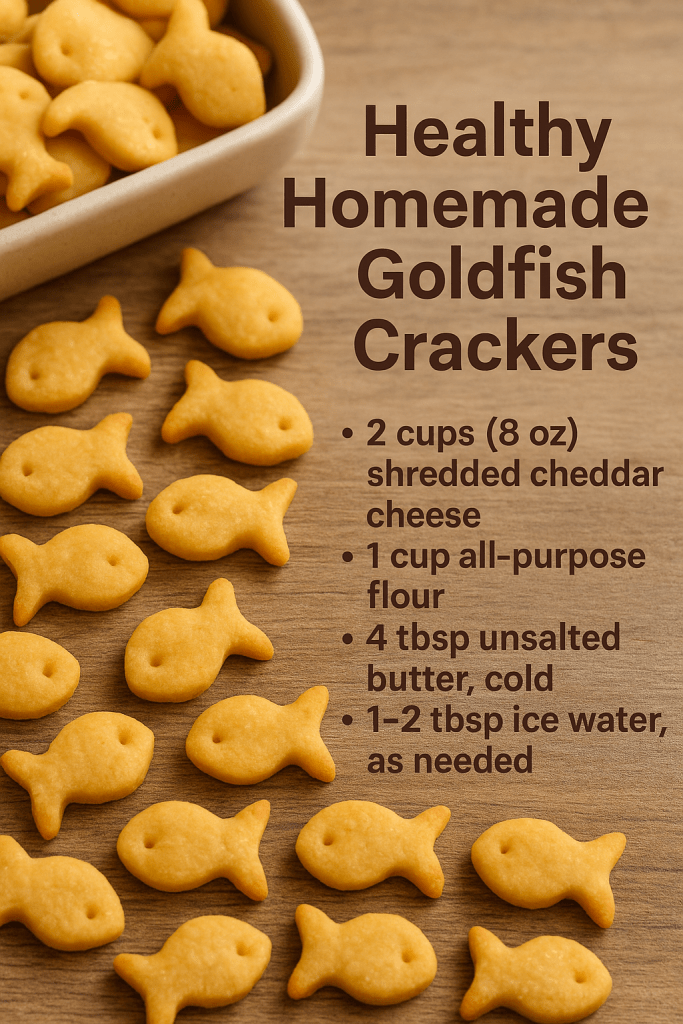
🧾 Ingredients:
- 2 cups (8 oz) shredded cheddar cheese
Use a high-quality sharp cheddar for the best flavor. Hand-grating is recommended — pre-shredded cheese often contains anti-caking agents that can affect texture. - 1 cup all-purpose flour (can sub ½ whole wheat flour for extra fiber)
- 4 tbsp unsalted butter, cold and cut into cubes
- 1–2 tbsp ice water, as needed
- Salt, as needed
👩🍳 Instructions:
1. Preheat the oven to 350°F (175°C). Line a baking sheet with parchment paper.
2. Combine the cheese, flour, and butter in a food processor. Pulse until the mixture resembles coarse crumbs.
3. Add 1 tablespoon of ice water and pulse until the dough comes together in a ball. If needed, add the second tablespoon gradually.
4. Form the dough into a disc, wrap it in plastic wrap, and chill for 15–20 minutes in the fridge. (This helps the dough roll out more easily.)
5. Roll out the dough on a floured surface to about ⅛ inch thick.
6. Cut out shapes using mini cookie cutters (a goldfish shape if you have one, or other fun kid-friendly cutters). Re-roll scraps as needed.
This is the cutter I used from Amazon. inexpensive and easy for little hands. https://amzn.to/4exsWdC
7. Place on the baking sheet, sprinkle with salt if desired, and bake for 10–12 minutes, or until crispy and lightly golden.
8. Cool completely before serving. Store in an airtight container for up to 5 days.
👩🍳 Tips for Success:
- Cheese matters! A good quality cheddar adds more flavor and richness — it’s worth the upgrade.
- Grate it fresh for the best texture and melt.
- Get the kids involved — rolling and cutting shapes is a great way to include them in the kitchen. My daughters loved this part!
👶 Snack-Time Tips
- These store well in a sealed container for up to 5 days — though they rarely last that long in our house!
- You can freeze extra dough and roll it out fresh when you’re ready to bake.
- Let your kids help cut the shapes — it’s a fun activity for little hands.
🧡 Final Thoughts
There’s something so satisfying about swapping a store-bought snack with something homemade, especially when it’s just as loved by the kids. These crackers are cheesy, crisp, and just the right size for little fingers.
Give them a try and let me know what shape your family picks!
💬 Let’s Chat!
I’d love to hear how these crackers turned out for you — especially if you’ve got a picky eater at home too! Did you try a fun shape? Did your little one help in the kitchen?
Come say hi and share your snack-time wins (or questions!) over on Instagram:
You can also join the conversation on Facebook at From Work to Table — where we’re swapping stories, recipes, and mom hacks every day. Because we’re all in this together 💛 From Work To Table