🍫 5-Ingredient Granola Bars

Healthy | Kid-Friendly | Freezer-Friendly

If your kids are anything like mine, they live for granola bars. My picky eater was so hooked at one point that we had to limit her to just one a day—between the sugar and the cost, it added up fast. I went searching for a better option made with whole foods… and now we’ve got one that’s healthy, affordable, and totally customizable!

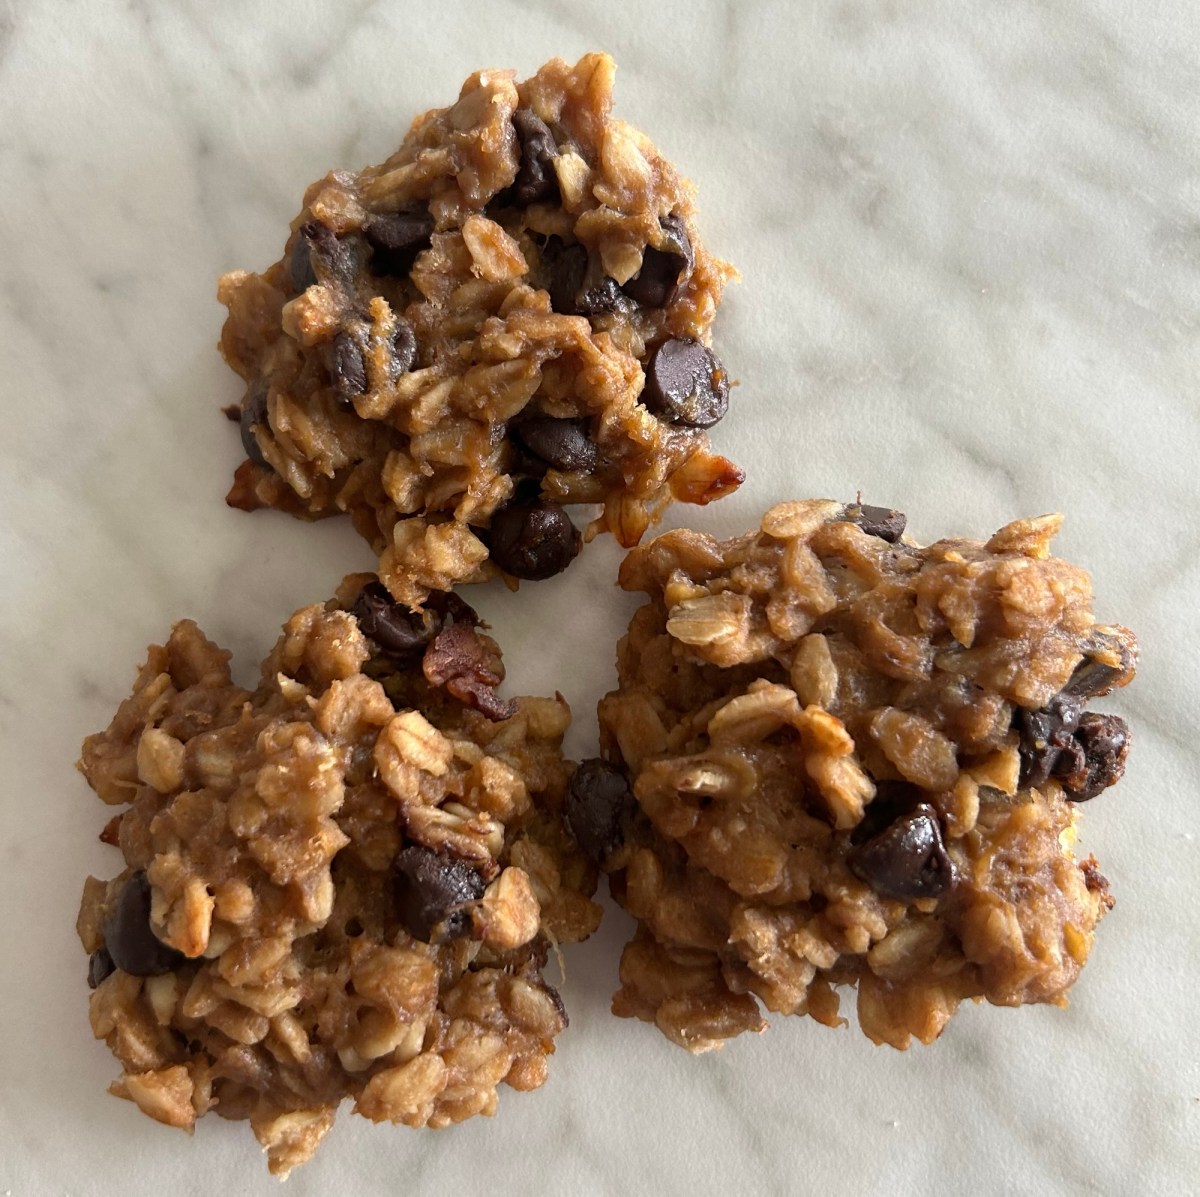
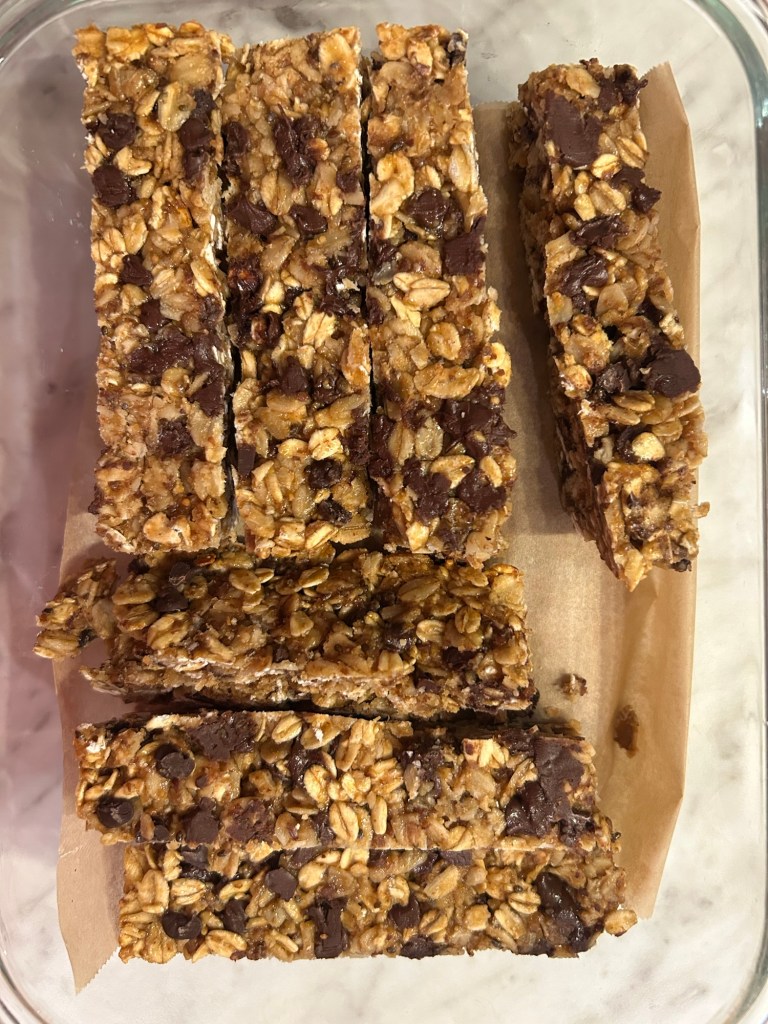
This version is packed with protein, made from pantry staples, and has just enough chocolate to win over little snack critics like mine. 🧒🍫 Bonus? It freezes beautifully—so you can make a big batch and always have some on hand.
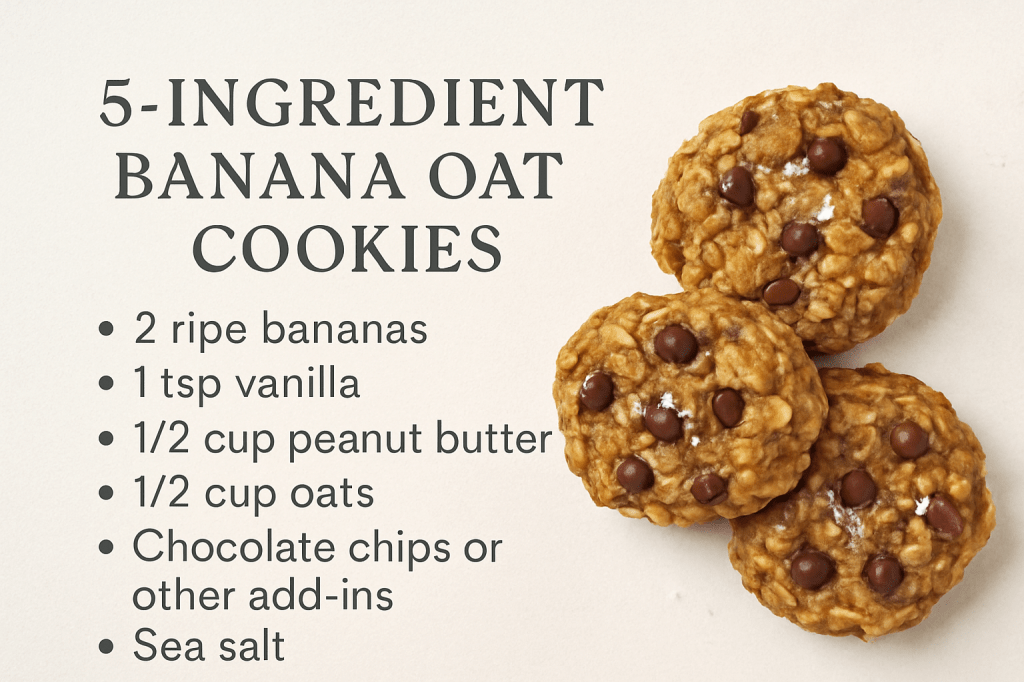
Ingredients

  • 3 cups old-fashioned rolled oats (use certified gluten-free if needed
  • ¾ cup natural peanut butter*
  • ⅓ cup honey or maple syrup
  • 2 whole eggs (or flax eggs for a vegan version)**
  • ½ cup mini chocolate chips (optional—but always welcome in our house!)
  • Optional add-ins: pinch of salt (omit if peanut butter is salted), chopped nuts, seeds, or dried fruit

*Feel free to sub with another nut/seed butter if you have allergy concerns

**1 flax egg = 1 tbsp ground flax + 2.5 tbsp water (let sit for 5 minutes)

Instructions

1. Preheat oven to 350°F (175°C). Line a baking dish (8×8 or similar) with parchment paper.

2. In a large bowl, mix oats, peanut butter, honey (or syrup), and eggs until well combined.

3. Fold in chocolate chips and any extra add-ins you like.

4. Press mixture firmly into the prepared pan. Smooth the top with a spatula or your hands.

5. Bake for 15–18 minutes, or until the top is golden and set.

6. Let cool completely before slicing into bars. Store in the fridge for up to 1 week.

🧊 Freezer-Friendly Tips:

1. Let bars cool and cut into individual portions

2. Layer between parchment paper in a freezer-safe container or bag.

3. Label and freeze for up to 3 months.

4. To enjoy, thaw on the counter or microwave for 20–30 seconds.

💬 Tried it?

Tried this recipe or have a picky eater win to share? I’d love to hear from you!

📲 Tag your creations on Instagram @fromworktotable

👩‍👧 Or join the community on Facebook: From Work to Table

We’re all just doing our best to get good food on the table—one bite at a time.

🎥 Watch It Come Together

Want to see how easy these granola bars are to make?

Come hang out in my kitchen while I whip up a batch—step by step!

👉https://www.instagram.com/reel/DLghz_ARAk5/?igsh=aG9tNTdvYWFzZXd1

Because sometimes seeing it made makes all the difference. 🍫✨

🧀 Healthy Homemade Goldfish Crackers

If there’s one thing my daughter has always loved, it’s crackers. But cheese? Not a chance. For the longest time, she wouldn’t go near it — no matter how I tried to sneak it in. That’s when I realized Goldfish crackers were the perfect bridge: she adored them, and they just so happened to be made with cheese.

That little discovery inspired me to try making them at home. I wanted a version with real, simple ingredients and hoped that by baking them together, she might warm up to the idea of cheese in a new way. Spoiler: it worked! These healthy homemade goldfish crackers quickly became a favorite, and they’ve helped introduce her to a food she used to avoid completely.

Made with sharp cheddar, cold butter, and just a few pantry staples, these crackers are cheesy, crispy, and perfectly snackable. Hand-grating a good quality cheese really brings out the flavor, and cutting them into fun shapes makes it a kid-friendly kitchen activity too.

If you’ve got a picky eater at home (or just want a better version of a classic snack), this recipe is a great place to start.


Snack time just got an upgrade 🧀🐟
These golden, cheesy little crackers are made with real ingredients — and lots of love. 💛

🧾 Ingredients:

  • 2 cups (8 oz) shredded cheddar cheese
    Use a high-quality sharp cheddar for the best flavor. Hand-grating is recommended — pre-shredded cheese often contains anti-caking agents that can affect texture.
  • 1 cup all-purpose flour (can sub ½ whole wheat flour for extra fiber)
  • 4 tbsp unsalted butter, cold and cut into cubes
  • 1–2 tbsp ice water, as needed
  • Salt, as needed

👩‍🍳 Instructions:

1. Preheat the oven to 350°F (175°C). Line a baking sheet with parchment paper.

2. Combine the cheese, flour, and butter in a food processor. Pulse until the mixture resembles coarse crumbs.

3. Add 1 tablespoon of ice water and pulse until the dough comes together in a ball. If needed, add the second tablespoon gradually.

4. Form the dough into a disc, wrap it in plastic wrap, and chill for 15–20 minutes in the fridge. (This helps the dough roll out more easily.)

5. Roll out the dough on a floured surface to about ⅛ inch thick.

6. Cut out shapes using mini cookie cutters (a goldfish shape if you have one, or other fun kid-friendly cutters). Re-roll scraps as needed.

This is the cutter I used from Amazon. inexpensive and easy for little hands. https://amzn.to/4exsWdC

7. Place on the baking sheet, sprinkle with salt if desired, and bake for 10–12 minutes, or until crispy and lightly golden.

8. Cool completely before serving. Store in an airtight container for up to 5 days.

👩‍🍳 Tips for Success:

  • Cheese matters! A good quality cheddar adds more flavor and richness — it’s worth the upgrade.
  • Grate it fresh for the best texture and melt.
  • Get the kids involved — rolling and cutting shapes is a great way to include them in the kitchen. My daughters loved this part!

👶 Snack-Time Tips

  • These store well in a sealed container for up to 5 days — though they rarely last that long in our house!
  • You can freeze extra dough and roll it out fresh when you’re ready to bake.
  • Let your kids help cut the shapes — it’s a fun activity for little hands.

🧡 Final Thoughts

There’s something so satisfying about swapping a store-bought snack with something homemade, especially when it’s just as loved by the kids. These crackers are cheesy, crisp, and just the right size for little fingers.

Give them a try and let me know what shape your family picks!

💬 Let’s Chat!

I’d love to hear how these crackers turned out for you — especially if you’ve got a picky eater at home too! Did you try a fun shape? Did your little one help in the kitchen?

Come say hi and share your snack-time wins (or questions!) over on Instagram:

📸 @fromworktotable

You can also join the conversation on Facebook at From Work to Table — where we’re swapping stories, recipes, and mom hacks every day. Because we’re all in this together 💛 From Work To Table

🍌 5-Ingredient Banana Oat Cookies (Easy + Picky-Eater Friendly)

These are my go-to cookies when we want something sweet, fast, and not packed with sugar or drama. With only five ingredients (plus whatever extras you have), they’re perfect for after-school snacks or “oops, I forgot it’s bake sale day” moments.

One of my kids thinks these are basically breakfast. The other only eats them if I sprinkle sea salt and throw in chocolate chips—so of course, that’s what I do.

Ingredients

  • 2 ripe bananas (the spottier, the better)
  • 1/2 cup peanut butter
  • 1 tsp vanilla extract
  • 1/2 cup oats (quick or rolled)
  • Chocolate chips or other add-ins (optional: raisins, chopped nuts, shredded coconut)
  • Sea salt for sprinkling (optional but delicious)

Instructions

  1. Preheat your oven to 350°F (175°C). Line a baking sheet with parchment paper.
  2. In a bowl, mash the bananas with a fork until smooth.
  3. Stir in the peanut butter and vanilla until combined.
  4. Add oats and mix until everything comes together. Fold in chocolate chips or any extras.
  5. Scoop small spoonfuls onto the baking sheet and gently flatten. Sprinkle with sea salt if using.
  6. Bake for 12–15 minutes, or until the edges are slightly golden.
  7. Let cool for 5 minutes (or don’t—it’s your kitchen).

Recipe Notes

  • Want them chewier? Add more oats.
  • Allergic to peanut butter? Try almond butter or sunflower seed butter.
  • These freeze well—just toss them in a zip bag after they’ve cooled.

Prep & Cook Time

Prep time: 5 min Cook time: 12–15 min Total time: ~20 min Makes: 10–12 cookies

Variations

  • Add cinnamon, flaxseed, or chia for extra nutrition.
  • Turn them into “breakfast cookies” with dried fruit + coconut.
  • Use dark chocolate chunks and flaky salt for grown-up snack energy.

Storage

  • Store in an airtight container for 3 days at room temp or 5–6 days in the fridge.
  • Freeze flat in a bag or container for up to 1 month.

Did your picky eater approve these? (Even a nibble counts!)

Tag me @fromworktotable or leave a comment—I’d love to see your cookie twist.

From Work To Table