It’s that time of year again—school’s back in session and parents everywhere are getting back into the swing of lunch packing. Whether you’re a seasoned lunchbox pro or totally over it by week two (no judgment), having the right gear can make packing healthy, fun, and stress-free lunches way easier.
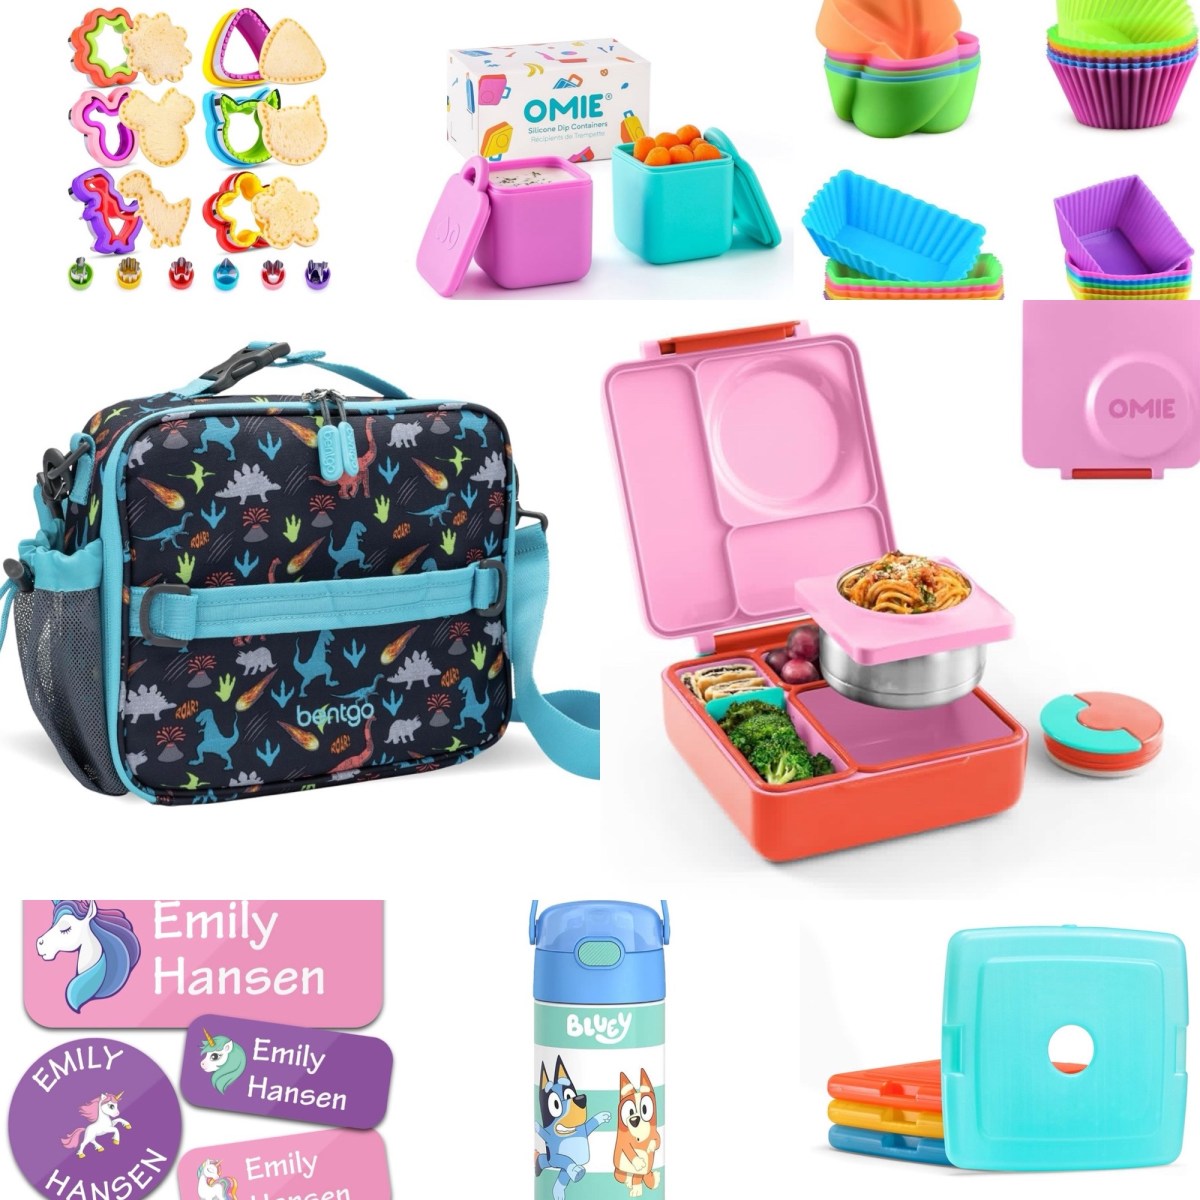
Below are my top picks for the BEST back-to-school lunch essentials for kids. These are all mom-tested, lunchbox-approved, and linked for easy shopping. (Yep, affiliate links included!)
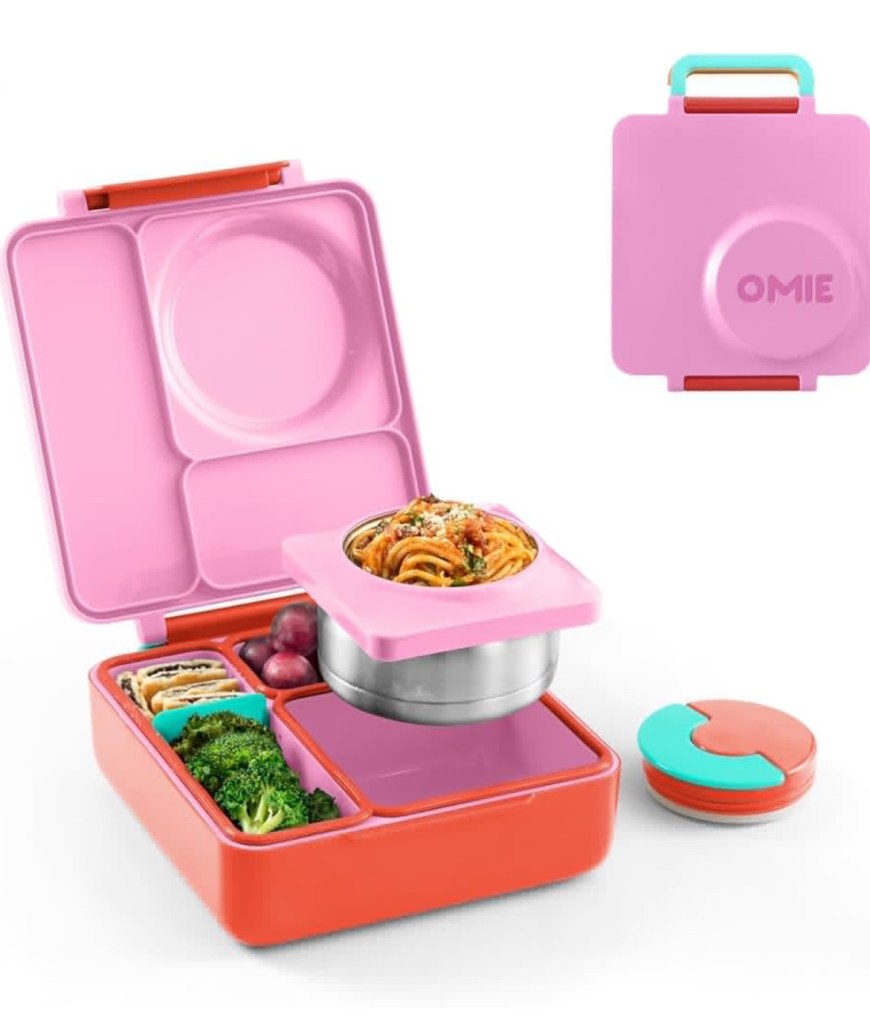
🍱 Omie Lunch Box
This bento-style box is a game-changer for picky eaters and organized parents. It keeps hot food hot, cold food cold, and has separate leakproof compartments. Available in fun colors like Blue Sky and Cherry Pink.
• [Omie Lunch Box – Blue Sky](https://www.amazon.com/dp/B017SGIMV2?tag=fromworktotab-20)
• [Omie Lunch Box – Cherry Pink](https://www.amazon.com/dp/B0CTRTVZZF?tag=fromworktotab-20)
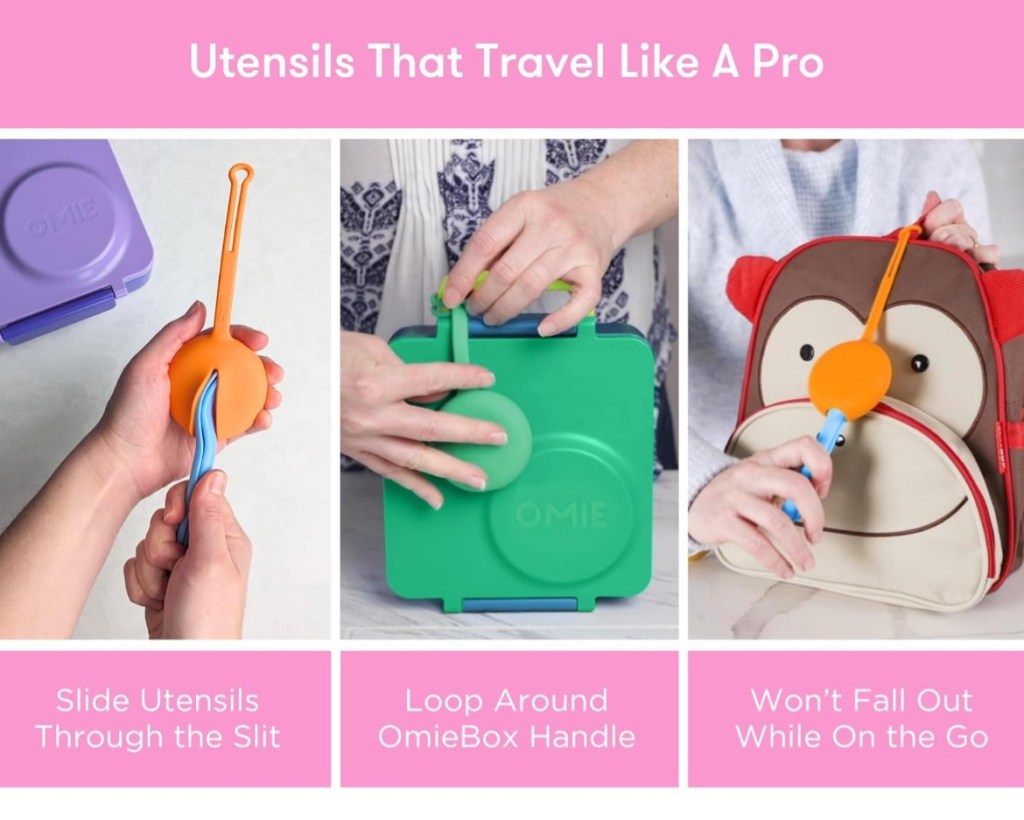
🍴 Utensils with Case
Compact, reusable, and easy to pack—these kid-sized utensil sets come with their own travel case.
• [Pink Utensil Set](https://amzn.to/3TY40mc)
• [Blue Utensil Set](https://amzn.to/3UtImpV)
🎒 Bentgo Lunch Bag
These insulated bags come in adorable patterns and fit the Omni lunch box perfectly. Plus, they’re easy to wipe clean.
• [Dino Print](https://amzn.to/41aPZFu)
• [Rainbows & Butterflies](https://amzn.to/41e6Nvk)

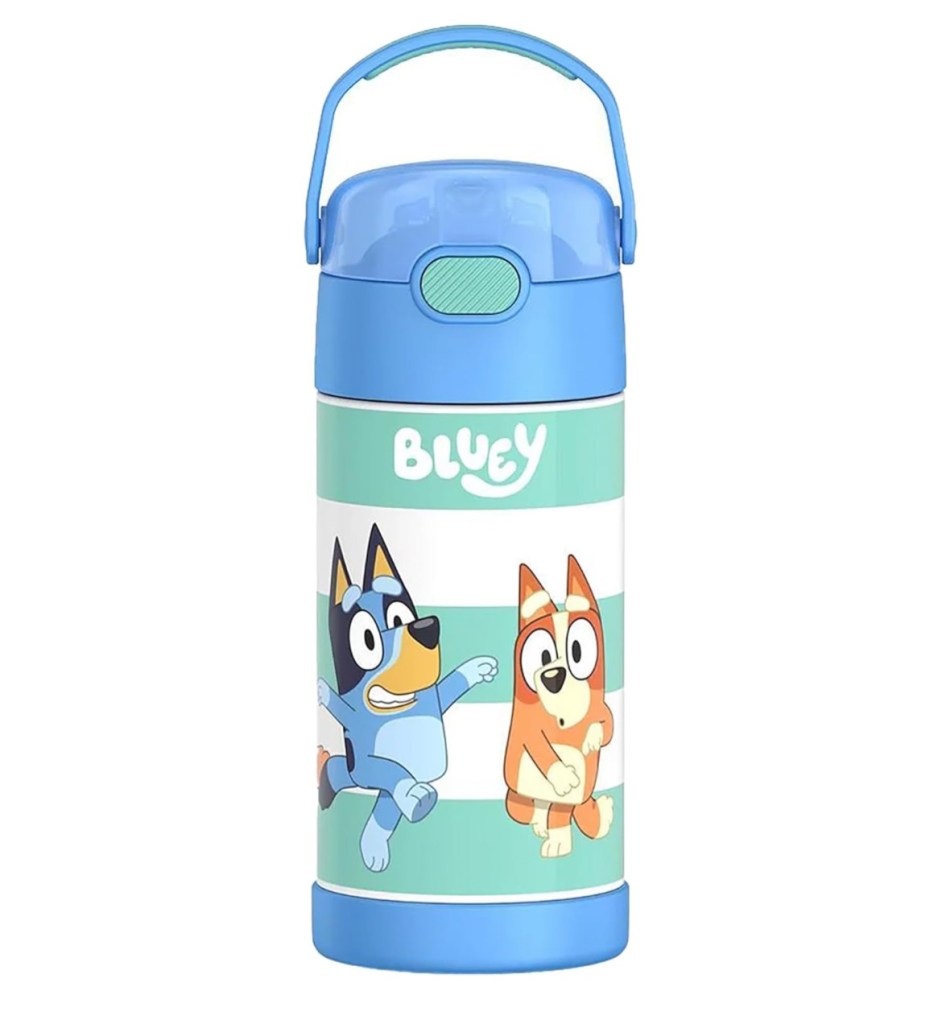
🥤 Kids’ Thermos Cups
Keep drinks cold all day with these adorable stainless steel tumblers. Choose your child’s favorite character!
• [Bluey Theme](https://amzn.to/3TWucNW)
• [Minnie Mouse](https://amzn.to/3GFcgEI)
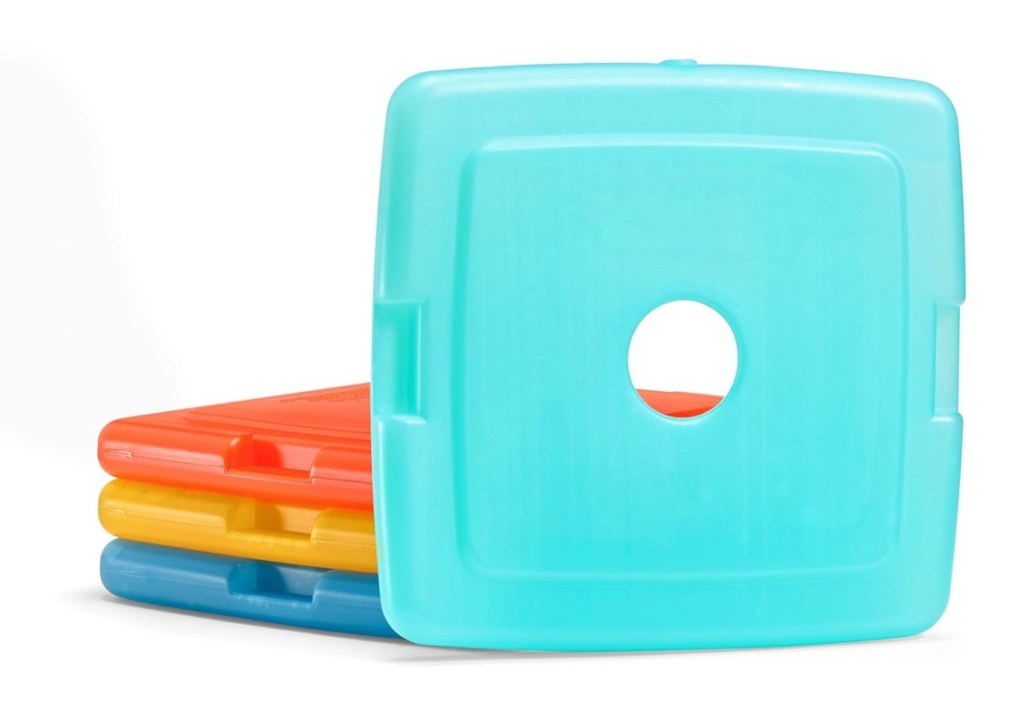
❄️ Ice Packs
A must-have to keep lunches fresh until the lunch bell rings.
• [Colorful Slim Ice Packs](https://amzn.to/4kTe3Ur)
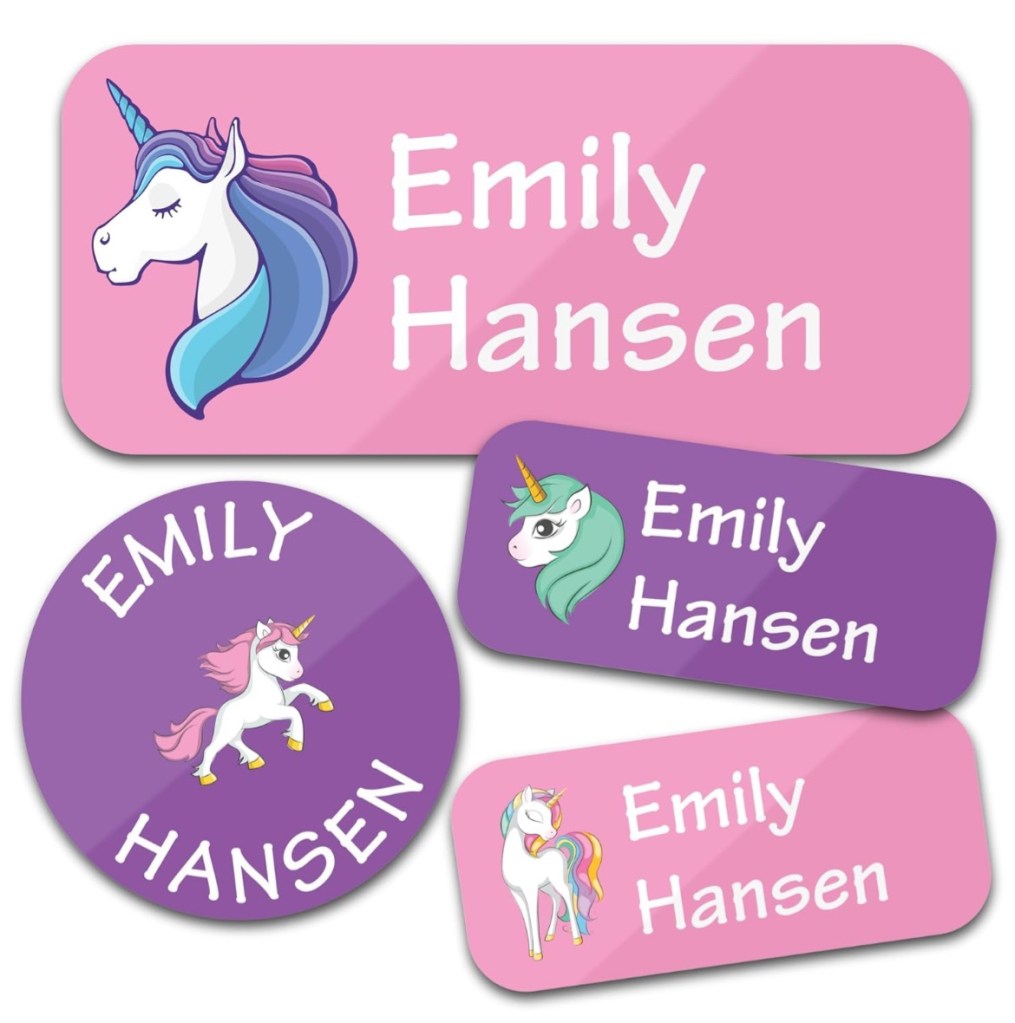
🔖 Personalized Labels
Never lose a lunch box again! These waterproof name labels stick to bottles, boxes, and more.
• [Custom Name Labels](https://amzn.to/3H3gS7y)
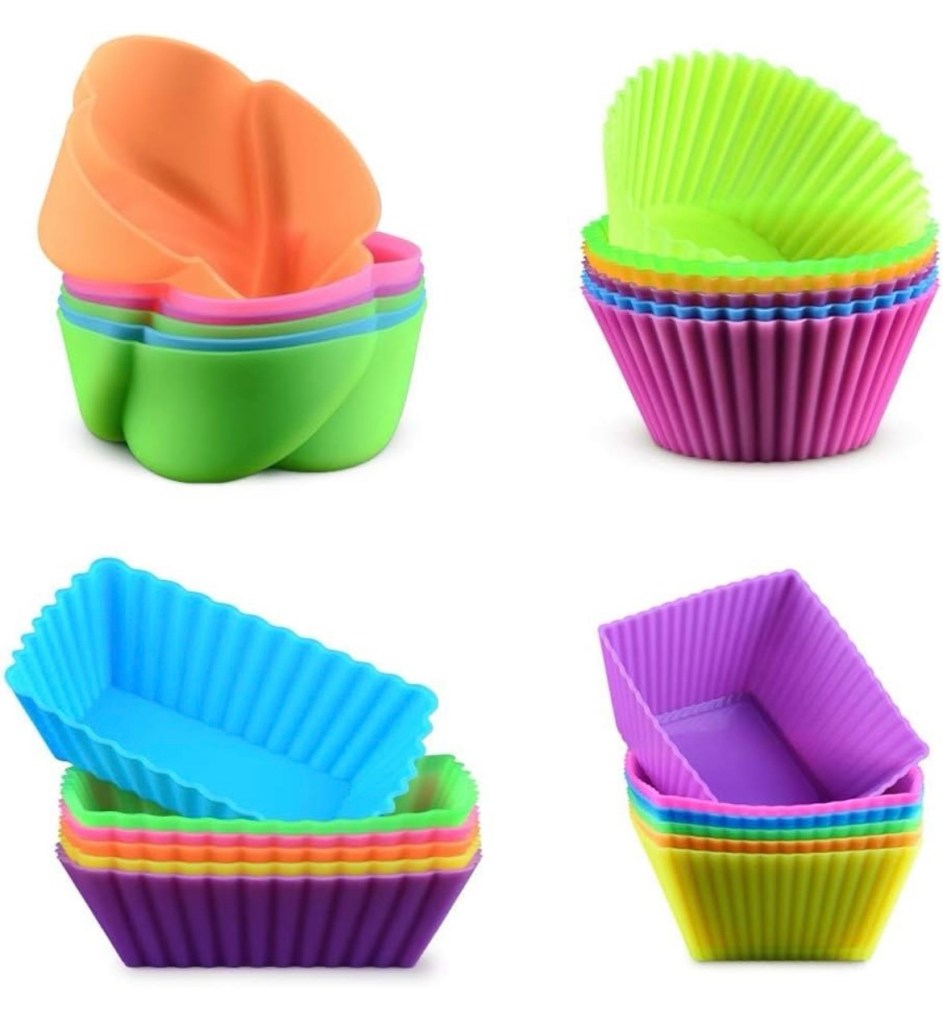
🎉 Lunch Box Accessories
From mini forks to silicone cupcake liners and sauce containers—these little extras make packing more fun.
• [Lunch Box Accessory Kit](https://amzn.to/450YbJB)

- [Silicone Cupcake Liners](https://amzn.to/450YbJB)
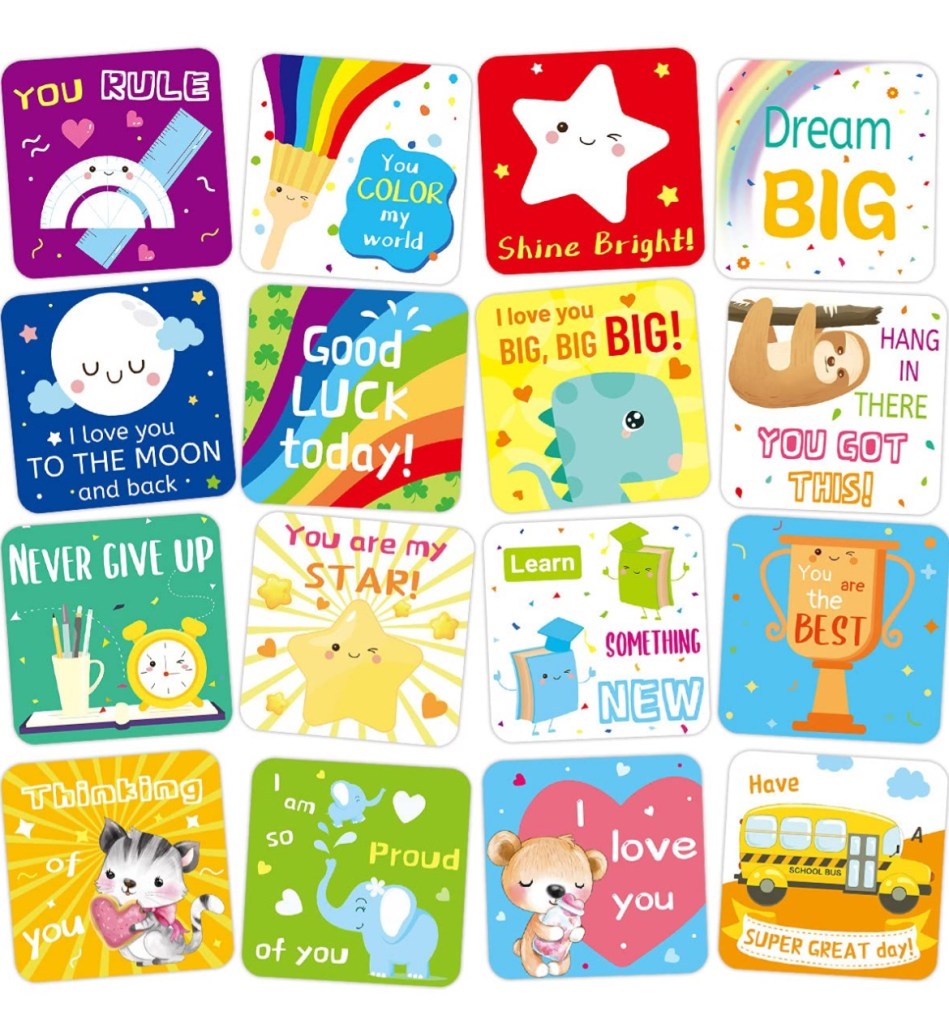
💌 Lunch Box Notes
Brighten your child’s day with a sweet message or silly joke. These pre-printed cards are adorable!
• [Lunch Notes for Kids](https://amzn.to/4mh670C)
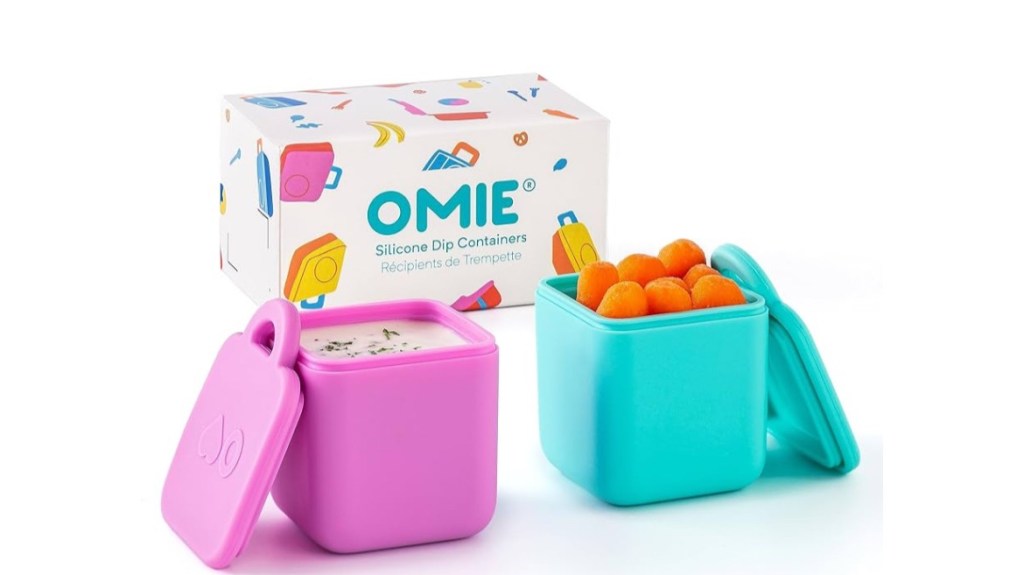
🫙 Leakproof Dip Containers
Perfect for ketchup, ranch, yogurt, or peanut butter. No mess, no leaks.
• [Mini Dip Containers](https://amzn.to/3IMVeVS)
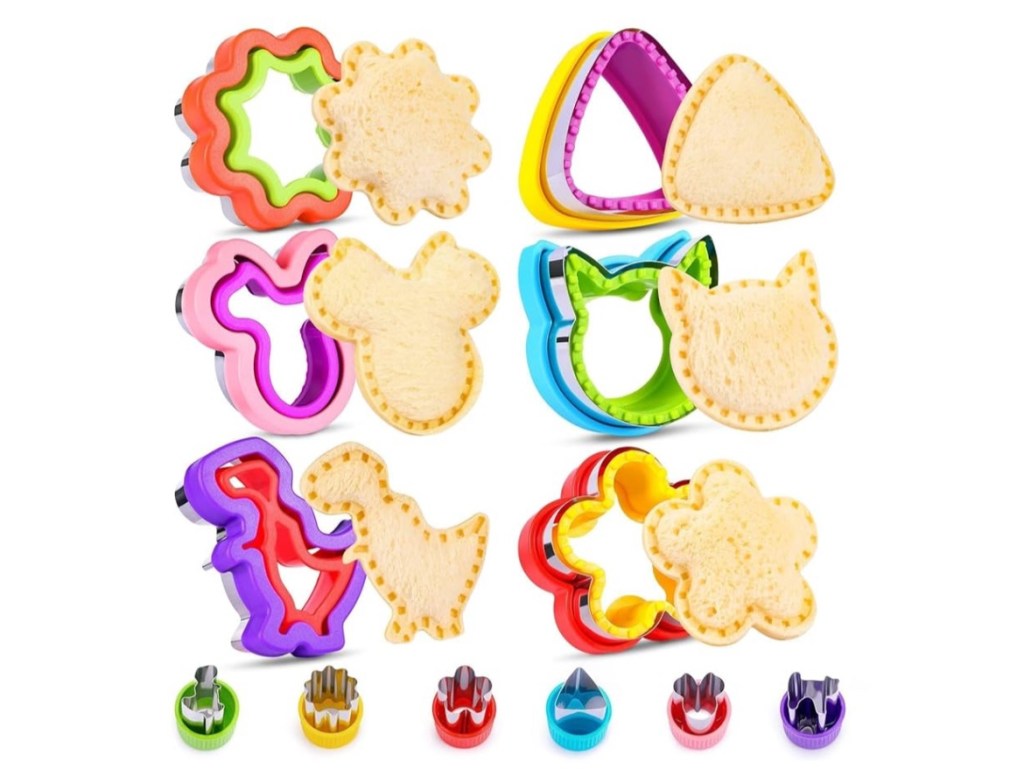
🍓 Sandwich & Fruit Cutter Set
Make lunch fun with this 18-piece set that cuts sandwiches, fruit, and veggies into cute shapes.
• [Fun Shape Cutter Set](https://amzn.to/4mdy35p)
✅ Want to make life even easier? Don’t forget to grab the free downloadable checklist — coming soon!
Pin this post. Share with a fellow parent. And if you try any of these lunch essentials, tag @fromworktotable — I’d love to see your lunch wins and hear what your kids loved!